
The Import CSV is a feature normally reserved for power users, typically for bulk migration of records from a legacy system into GlobalSearch, or for restructuring an existing GlobalSearch database. This data often includes a CSV file with index data and pointers to the location of the files.
Import Data & Docs requires View and Add permissions. Contact your GlobalSearch Administrator for your permission settings.
-
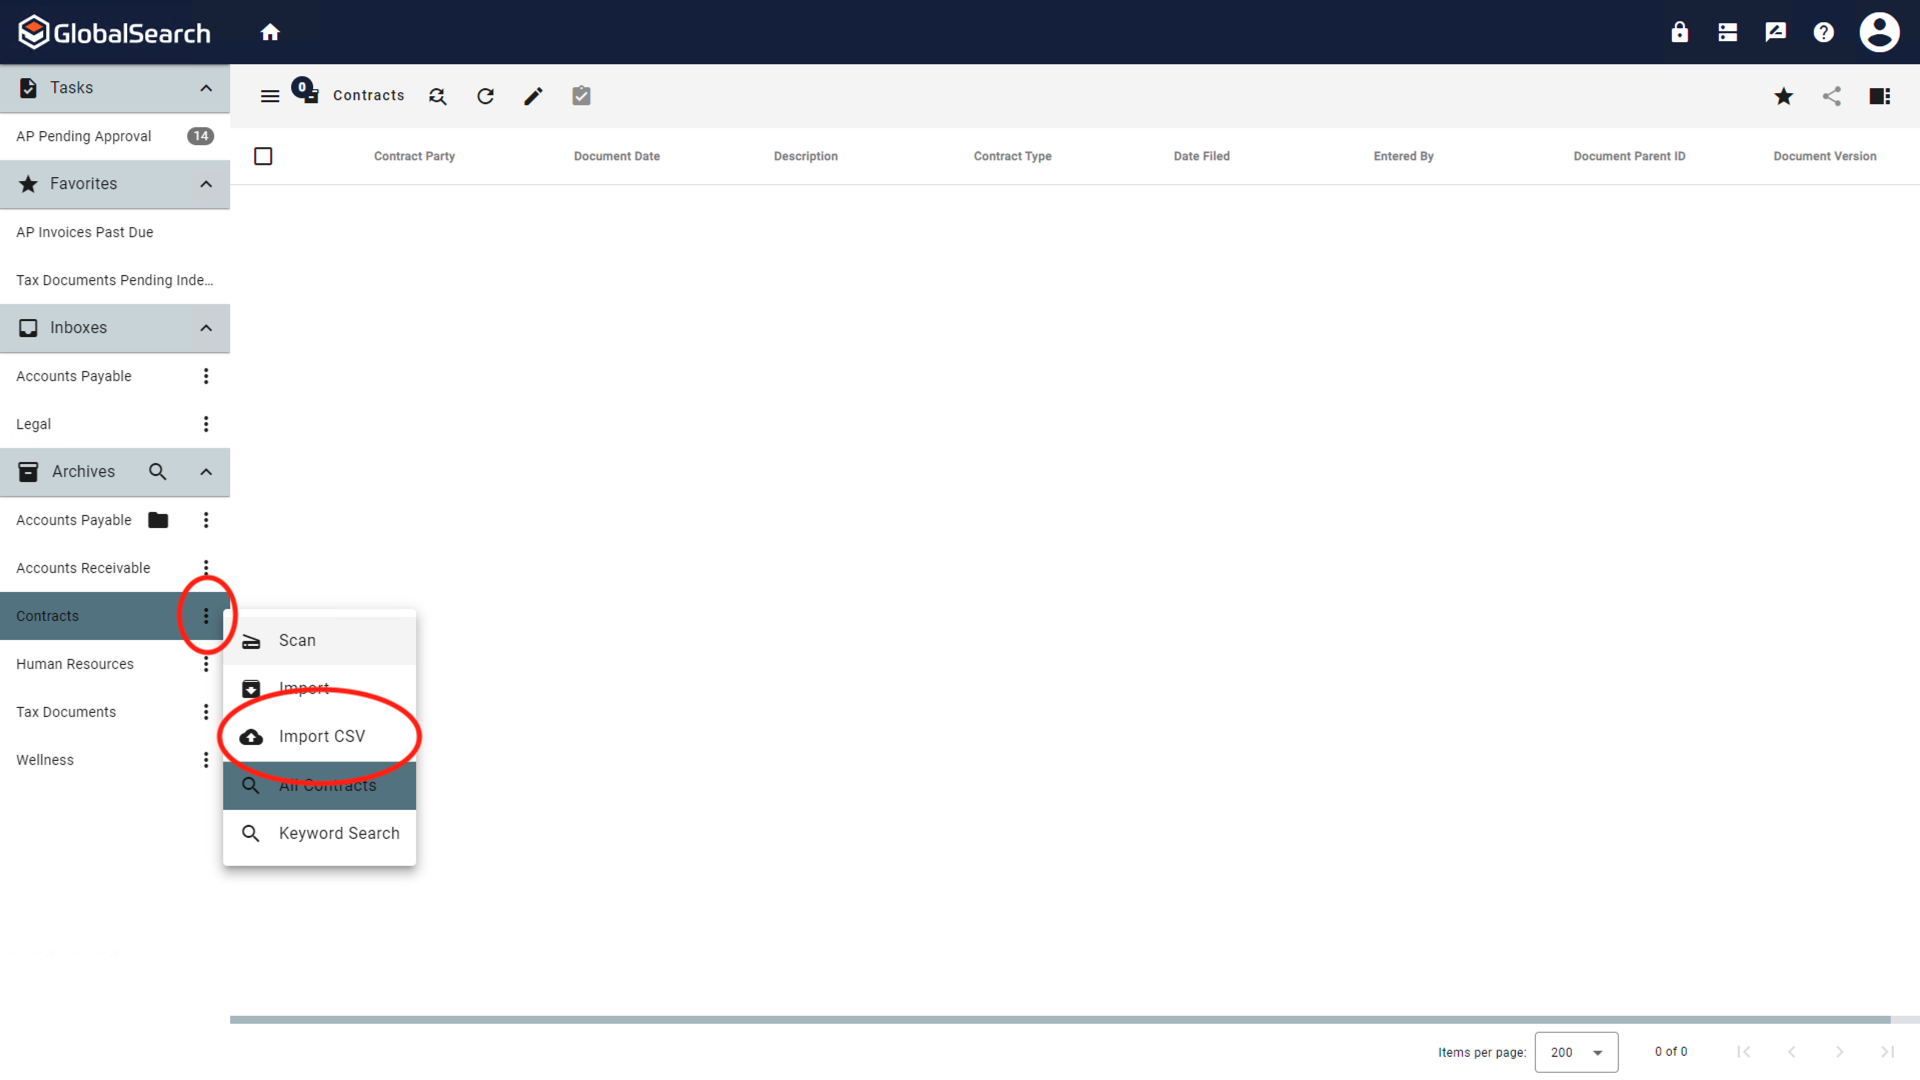
Select an Archive and click Ellipsis (

-
Click Import CSV.
-
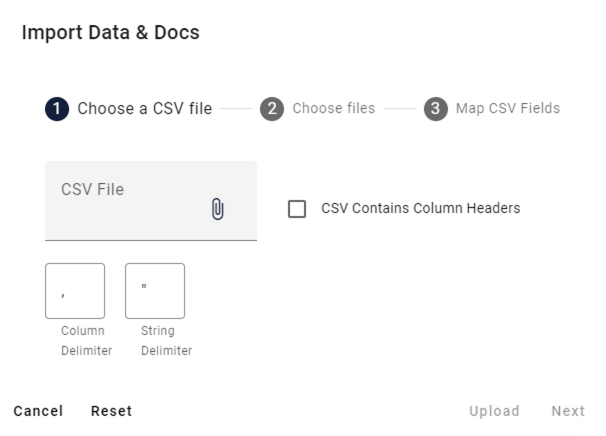
In the Import Data & Docs dialog box that appears, Choose a CSV file.
-
Attach the CSV file containing the information by clicking the Attach (

-
If your CSV contains headers, you enable CSV Contains Column Headers. This will tell the import to ignore the first row of data.
-
Specify the character used to separate fields in the Column Delimiter. This is defaulted to a comma and a comma is often used here, but inspect your specific data files for the correct delimiter.
-
Specify the character used to separate strings in the String Delimiter. Quotation marks are often used for this and this is default setting.
-
-
Click Upload.
-
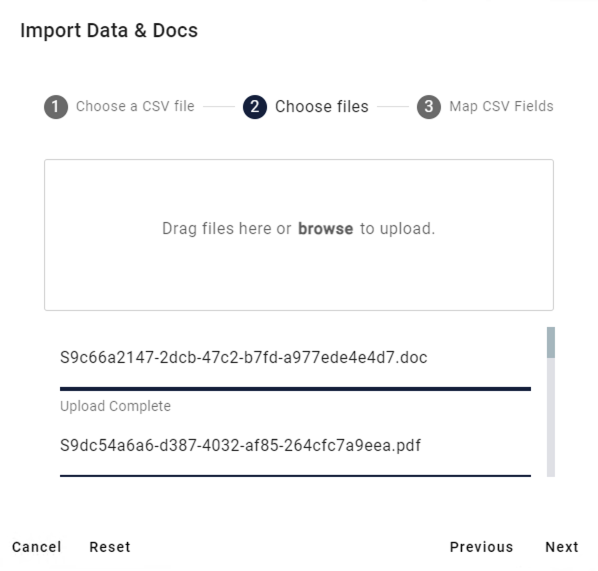
In the Choose files step, either drag and drop the files to be uploaded into the box or click browse to open a file explorer window to select the files to upload. Click Next.
-
In Map CSV Fields,
-
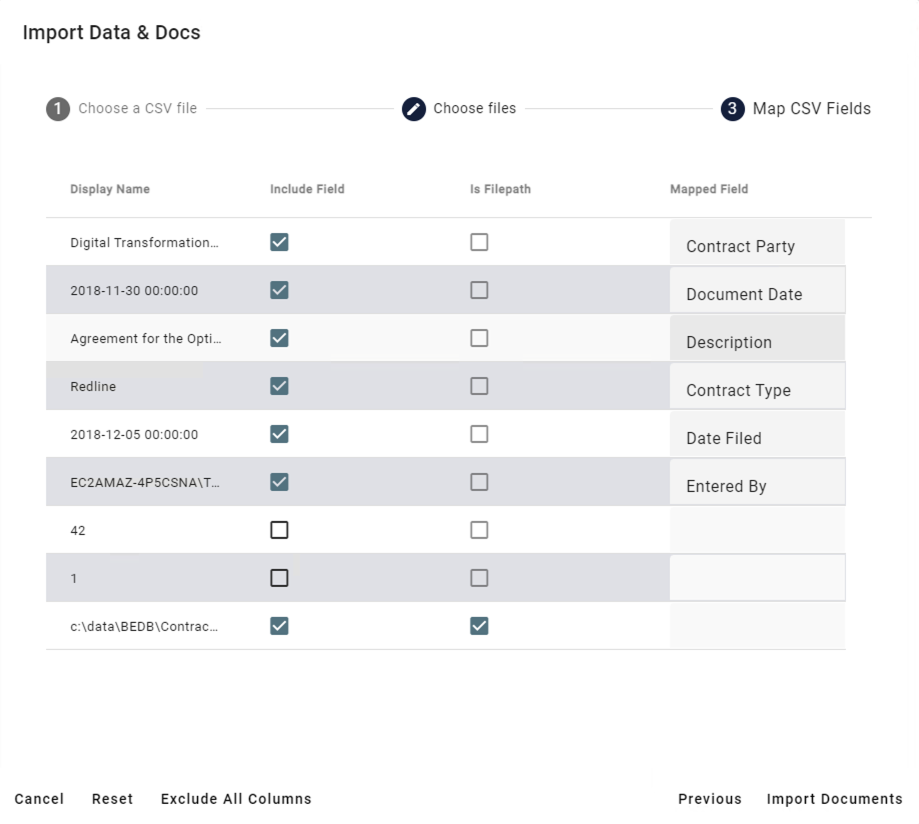
Enable the Include Field checkbox to include the field in the import.
-
Any field that is included must have a Mapped Field. Select the field from the list to which to add the imported data. If no field is selected, the Import Documents option will not become available.
-
Select the field that represents the file path by enabling the Is Filepath checkbox. Only one field can be the filepath.
-
Include/Exclude All Columns will enable or disable Include Field for all the fields.
-
Exercise caution when mapping system fields. Mapped data will overwrite any system field data.
-
Once the import is configured, click Import Documents.
-
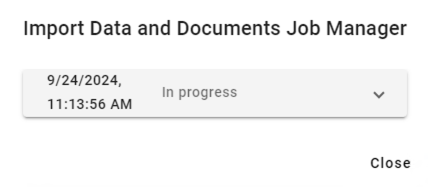
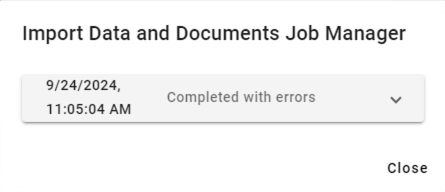
The Import Data and Documents Job Manager (

-
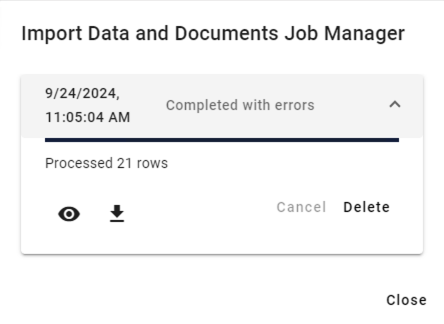
Clicking the Import Data and Documents Job Manager (
-
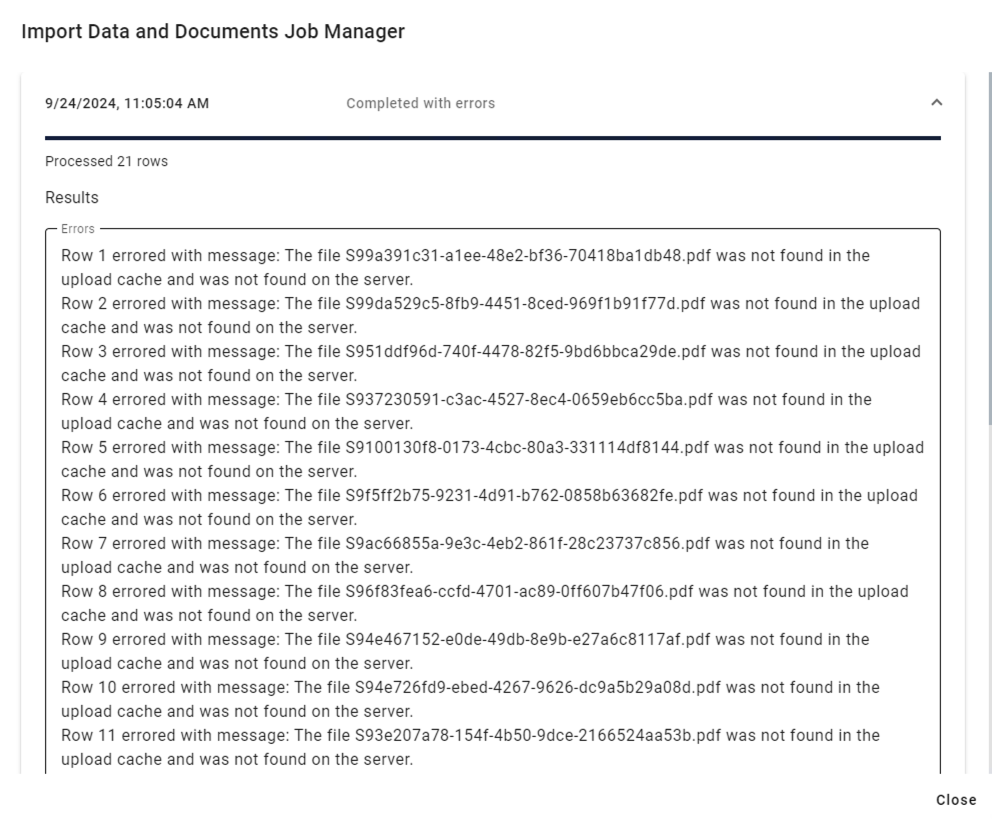
If the process errors, you can view a list of the errors (


-
From the Import Data and Documents Job Manager (

-
When the import is complete, an popup message will appear on your bottom indicating the completion status of your import.